If you’re a homeowner in Lansdale, PA, and considering a bathroom upgrade, you’re not alone. Upgrading a bathroom is one of the most rewarding home improvement projects you can undertake. It can increase the value of your home, boost energy efficiency, and create a rejuvenating space that enhances your daily routine. Whether you’re looking for a complete overhaul or just a few aesthetic tweaks, thoughtful planning and strategic updates can transform your bathroom into a refreshing retreat. Here are some essential tips to guide you through the process.
1. Assess Your Needs and Prioritize
Before diving into the project, take a close look at your current bathroom setup and assess what needs improvement. Is your primary concern an outdated look, insufficient storage, poor lighting, or perhaps all of the above? Consider your daily usage and lifestyle to identify which aspects of the bathroom matter most to you. Once you have a clear idea, prioritize these elements based on your budget and the impact each upgrade will have on your comfort and convenience. This initial assessment will help you focus your time and resources on what truly matters, ensuring your bathroom upgrade meets your specific needs.
2. Find Reputable Professionals
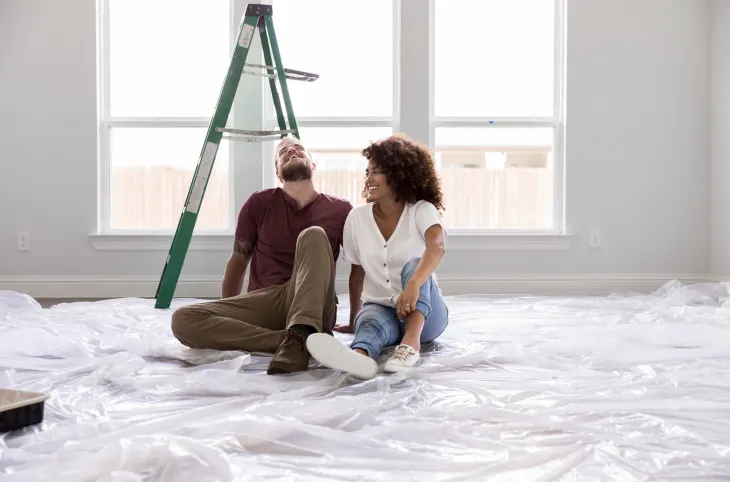
Partnering with a reliable Lansdale bathroom remodeling company is crucial for a smooth and successful upgrade. Local remodeling professionals understand the specific trends and design preferences of the Lansdale community. They also ensure your project complies with local regulations and building codes. An experienced remodeling company provides valuable insights into the latest styles, material choices, and space optimization techniques. They’ll handle the project efficiently, guiding you through every stage from planning to completion, helping you avoid costly mistakes.
3. Choose a Consistent Theme
A cohesive theme ties your bathroom together, providing a sense of unity and enhancing its aesthetic appeal. Consider styles like modern, minimalist, rustic, or coastal. A modern theme might feature sleek lines, neutral colors, and high-tech fixtures, while a rustic design embraces natural wood finishes and a warm color palette. Choose a theme that resonates with your personality and complements the rest of your home’s decor. Consistency in color schemes, materials, and design elements will make your bathroom feel harmoniously put together.
4. Maximize Storage Solutions
Bathroom storage is often an overlooked aspect of upgrades. However, efficient storage solutions are crucial for keeping your bathroom organized and clutter-free. Look into recessed shelving in the shower, vanity organizers for toiletries, and floating cabinets to maximize wall space. Medicine cabinets with mirrors provide both storage and utility. Vanity drawers can be equipped with dividers or organizers to keep everything in place. By thinking vertically and creatively utilizing every inch of available space, you can create a bathroom that’s both functional and spacious.
5. Update Fixtures and Hardware
Updating fixtures and hardware is a quick way to modernize your bathroom without a full remodel. Replace outdated faucets, showerheads, and cabinet knobs with sleek, contemporary designs. Matte black or brushed gold finishes can add a touch of sophistication to your bathroom’s look. Consider swapping out your toilet for a more efficient model or changing an old showerhead to a luxurious rain shower. New fixtures are not only visually appealing but can also improve your bathroom’s functionality.
6. Upgrade Lighting
Good lighting is essential for any bathroom, and upgrading your lighting can have a transformative effect. Layered lighting includes task, ambient, and decorative fixtures. Task lighting, like vanity lights, provides focused illumination for grooming tasks, while ambient lighting offers overall brightness for the room. Decorative lighting adds character and style, enhancing the bathroom’s ambiance. LED fixtures are energy-efficient and long-lasting, providing bright, natural light that mimics daylight. Dimmer switches give you flexibility in adjusting the lighting to suit different moods.
7. Install Energy-Efficient Features
Incorporating energy-efficient features in your bathroom is an investment that pays off over time. Start with low-flow faucets and showerheads that help reduce water consumption without compromising on performance. Water-efficient toilets also save thousands of gallons of water annually by using significantly less per flush. For lighting, switch to LED bulbs, which are more energy-efficient and have a longer lifespan. These upgrades not only reduce your utility bills but also contribute to environmental sustainability. Look into energy-efficient ventilation fans that clear moisture quickly while using less electricity.
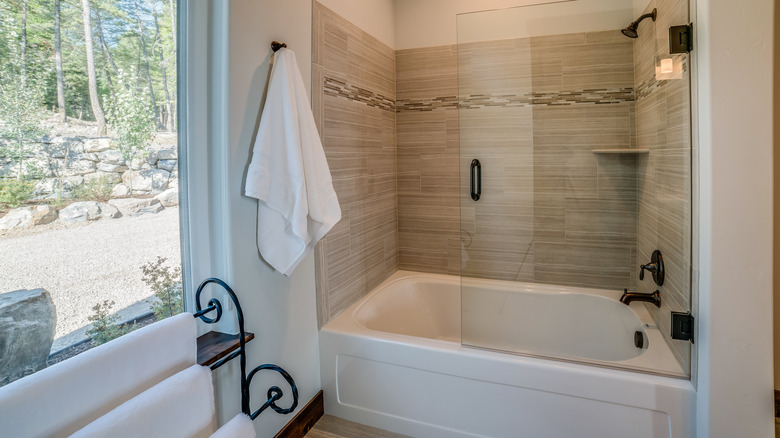
8. Consider a Walk-In Shower or Freestanding Tub
If you want to add a luxurious touch to your bathroom, consider replacing a traditional shower-tub combination with a walk-in shower or a freestanding tub. Walk-in showers are ideal for homeowners seeking a sleek, modern look and improved accessibility. They can include features like rainfall showerheads, benches, and multiple spray jets. On the other hand, freestanding tubs bring an elegant, spa-like vibe to the bathroom, creating a centerpiece that invites relaxation. Choose the option that best suits your needs and available space.
9. Refresh Walls and Flooring
Refreshing the walls and flooring can make a dramatic difference in the bathroom’s appearance. Consider durable, moisture-resistant materials that are easy to maintain. Tiles are an excellent choice for both walls and floors, available in a wide range of designs and finishes, from ceramic to porcelain. You can mix and match to create striking patterns or choose uniform tiles for a clean, minimalist look. Waterproof paints are another option for walls if you prefer a solid color. For flooring, luxury vinyl planks or natural stone tiles can elevate the bathroom’s style while standing up to humidity and spills.
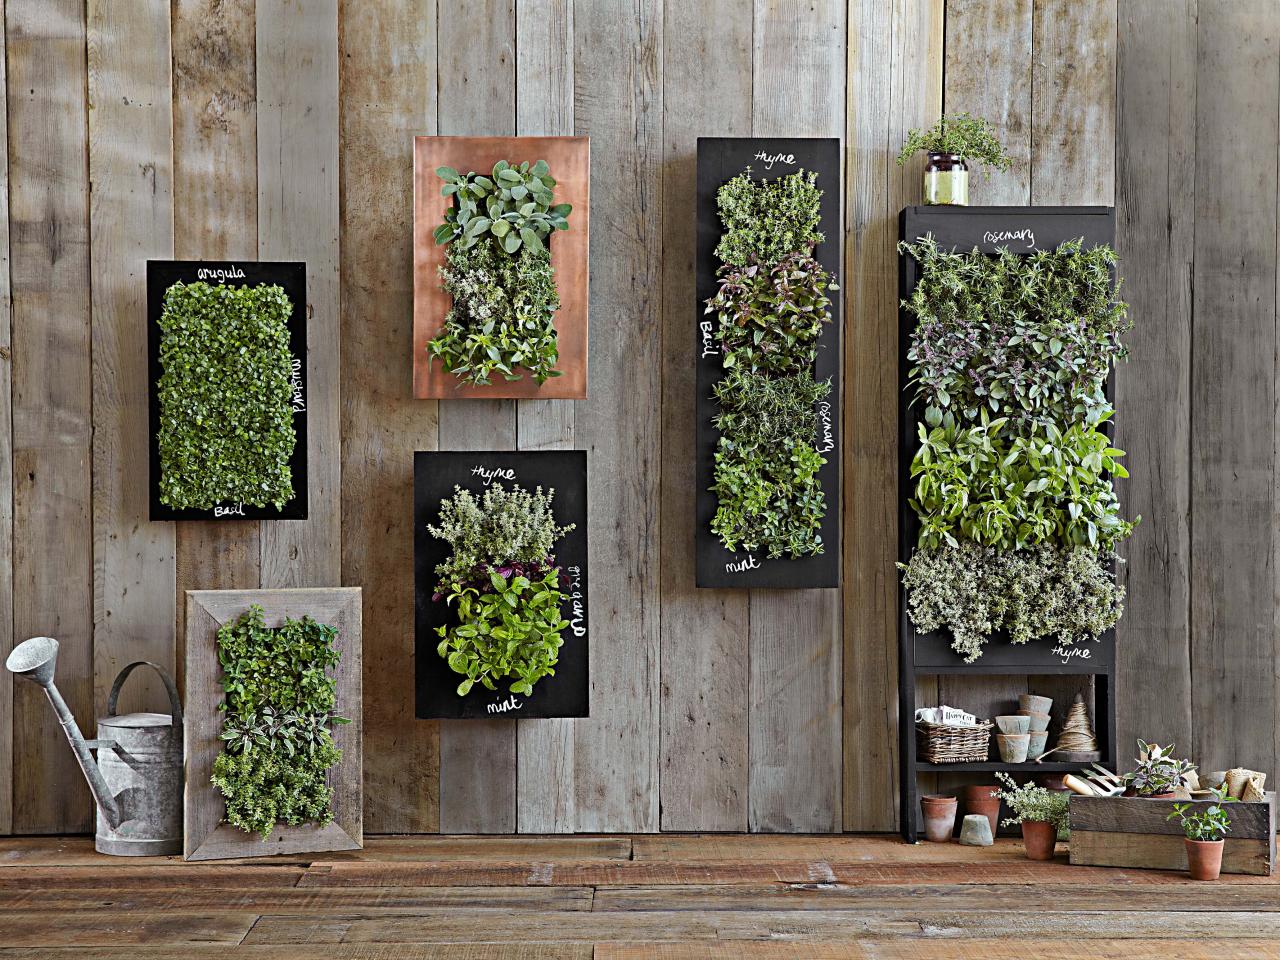
10. Add Natural Elements
Bringing natural elements into your bathroom can foster a soothing and inviting atmosphere. Houseplants like snake plants, aloe vera, or orchids thrive in bathrooms due to their love of humidity and low light. They purify the air while adding a pop of green to the decor. Incorporate natural materials like bamboo or teak for bathroom accessories such as soap holders, towel racks, and storage boxes. Stone accents, like pebbled shower floors or marble countertops, provide a sense of tranquility and complement a range of design themes.
Achieving Your Dream Bathroom
A well-planned bathroom upgrade can significantly enhance your home’s value and provide a refreshing retreat that meets your style and comfort needs. By assessing your priorities, working with a reliable local remodeling company, and incorporating consistent design themes, you can create a space that is as functional as it is beautiful. Remember to personalize your bathroom with décor that reflects your personality, ensuring that it serves as a rejuvenating haven for years to come.