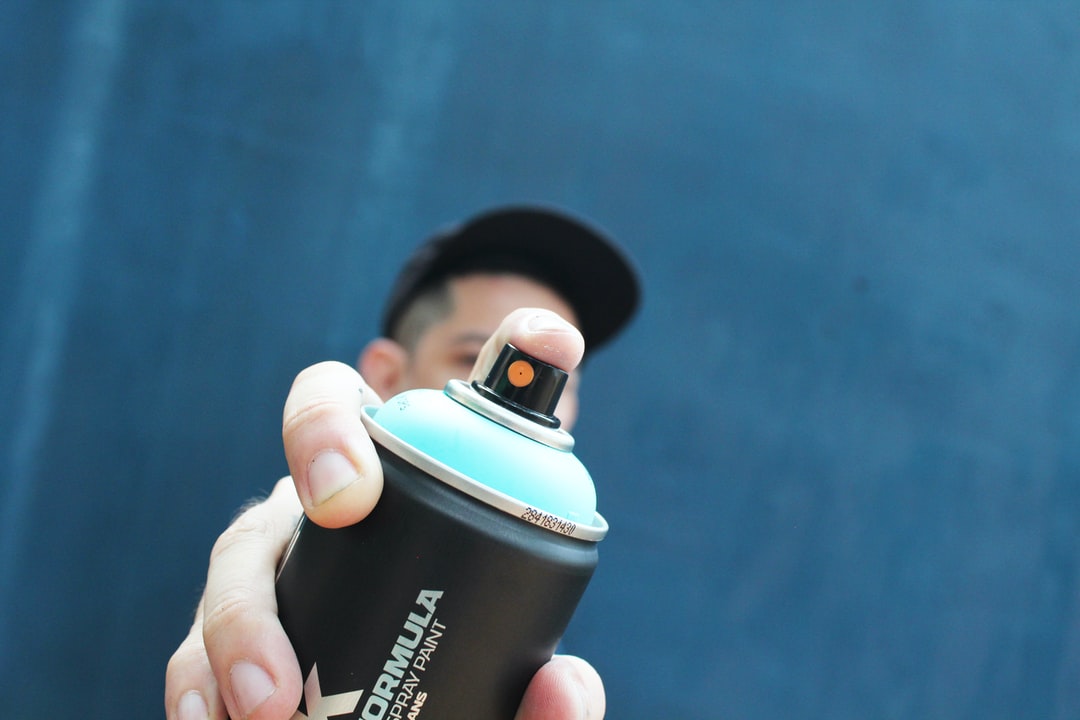
The aerosol market is huge and is currently worth more than 73 billion dollars. If your business sells aerosol products, you know the value of filling aerosol cans in-house.
Knowing how to use an aerosol filling machine can save you a ton of money and expand your business opportunities. Keep reading to find out how to use aerosol machines correctly and safely!
Parts of an Aerosol Filling Machine
The first step is to be familiar with the aerosol filling machine and its parts. The construction consists of a manometer that measures the adjusted pressure. The pressure is pre-set by the factory.
The protection door keeps any leaking materials from getting out of the machine. The cam latch ensures the protection door is securely closed. It is turned by the T-handle located on the outside of the door.
Inside the aerosol filling machine are the dosing jar and valve. Some machines will also have a height adjustment adapter for larger cans.
How to Operate an Aerosol Filling Machine
First, make sure the mounting location is dry, clean, and stable. In addition, the room temperature should be between 15 and 20 degrees Celcius.
Next, follow these steps.
- Close the protection door
- Connect the aerosol filling machine to the compressed air supply. Your machine will likely include a connecting kit for this purpose.
- Check inside the machine to ensure the piston is securely fitted. Also, check to make sure the piston is not damaged.
- Prepare the aerosol can by removing the safety cap and the spray nozzle.
- Adapt the base of the aerosol filling machine to fit the can to be filled. If the can holds 250 ml or more, use the height adjustment adapter to adjust the base height.
- Attach the dosing jar to the aerosol can. Make sure the piston is mounted correctly and there is no gap between the dosing jar and the aerosol can.
- Pour the material to be filled in the dosing jar but leave at least 5 mm of space between the material and the top of the jar.
- Insert the can and dosing jar (attached together) into the machine. Adjust the height and width of the base if needed.
- Close the protection door and turn the handle to secure it. This will activate the machine and the pressure will be released.
- Check the piston to ensure it is in the starting position. Then open the door and remove the aerosol can and dosing jar.
- Detach the dosing jar and put the spray nozzle and cap back on the aerosol can.
Important Safety Tips to Remember
When filling aerosol cans, you should never try to fill damaged cans. If the can has any building or dents, do not use it.
In addition, you should only fill materials that have been permitted and readied for aerosol. These include lacquers, primers, hardeners, thinners, and converters.
When filling, make sure not to exceed more than 400 ml per can. The recommended minimum is 100 ml.
Hiring a Filling Company
Another option is to hire a filling company. For example, Signature Filling Company provides aerosol and alternative filling services for food, personal care, household, and packaging industries. With a filling company, you can save time and know for sure your products are filled correctly and safely.
For more tips on how to use technology to improve your business, check out all of our technology and business blogs!
Leave a Reply